Showing posts with label puya. Show all posts

Wednesday, February 6, 2019

Cochinita Pibil

I'm a huge fan of Mexican food, citrus, pork, and easy meals. Every couple of weeks I'm buying a pork shoulder roast and doing it up Mexican style in the slow cooker with a lot of the same flavors found in a traditional cochinita pibil. It's easy to throw together, very little clean up, super delicious and it leaves you with some awesome broth leftover that's a great liquid for making rice or masa with.

Traditional cochinita pibil calls for slow roasting the marinated meat in a banana leaf but I add a couple of peppers to zip it up a bit and do it in the slow cooker lined in banana leaf. So it comes pretty close to the real deal and it's definitely good enough that you won't care about any differences.

Pork shoulder roasts, or butt roasts, come in a couple of different preparations.  The least processed is the bone-in, skin-on roast and the most processed is the boneless, skinless pack. I prefer using the bone-in roasts because that bone imparts some awesome flavor during this slow cooking process. If your roast comes with skin on, remove the skin. I find it easiest to start at a corner and once you get a little flap up, it's pretty easy to just pull that tab up and run the knife edge along the bottom side of the skin. Careful not to hack the actual meat up too badly and make sure not to trim all the fat off during this process. That fat layer between the skin and meat is what's going to give that awesome, rich pork flavor to the roast.

Now, banana leaves. You may live in an area where there are no banana leaves available. I pity you. I happen to live in California where banana leaves can be purchased at the local supermarket and many folks have them growing in their yards and pay nothing. If you can't get banana leaves, or just don't want to use them, don't worry. This pork is awesome even without banana leaf. However, the leaves do impart that amazing, vegital sweetness that goes well with pork. In fact, it goes SO well with pork that Hawaiians flavor their Kahlua pork with sea salt and banana leaf and smoke. Nothing else. So if you have the means to use banana leaf, I encourage you to try it. And if you end up with a ton left over, like I did, you can vacuum freeze it and it lasts a good long time. So you can bust it out of the freezer next time you need some tamale wrappers!

I was feeling a SoCal vibe while making this so I was jamming to some Sublime. Some punk rock Sublime. Paddle Out.


Cochinita Pibil
Prep time: 1 day
Cook time: 12-14 hours
Difficulty: easy
Serves: loads of people


  • 10-12 lb pork shoulder roast (bone in is preferred)
  • 10 cloves garlic, pealed
  • 1 habanero pepper (deseeded)
  • 5 puya peppers (deseeded)
  • 2 limes (juice of both, zest of one)
  • 2 oranges (juice and zest of both)
  • 1 tsp whole cloves (about 8)
  • 1 tbsp whole peppercorns
  • 1 tbsp Mexican oregano
  • 1 tsp whole cumin seed (1 1/2 tsp ground can be substituted) 
  • 2 tsp ground coriander
  • 1 six inch stick canela (1 tsp ground cinnamon can be substituted)
  • 3 tbsp ground annatto seeds (can be omitted but will change flavor and color)
  • 2 tbsp salt
  • 2 tsp grated piloncillo (dark brown sugar can be substituted)
  • 1 large banana leaf 
  • 2 cups water
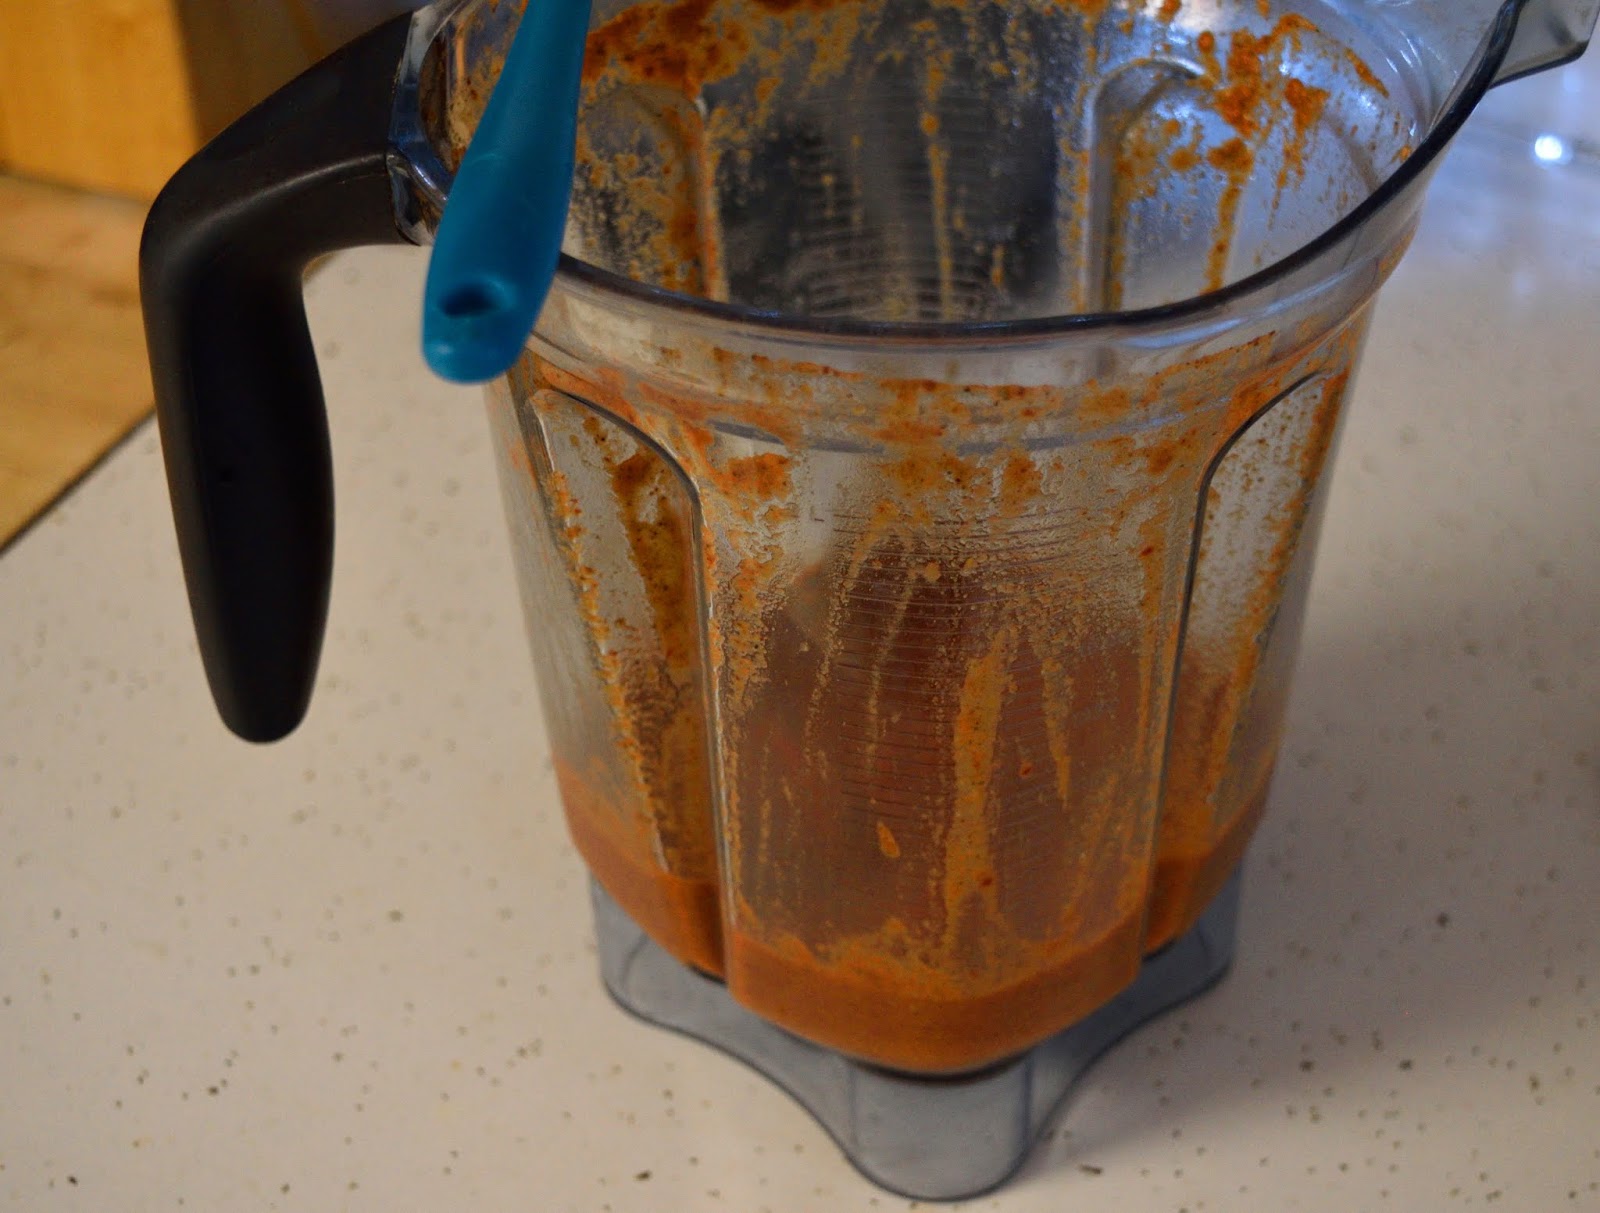
First thing we're going to do is make the marinade that is going to season this dish. In a blender combine the garlic, habanero and puya peppers, juice from both of the limes, the zest of one of the limes, the juice and zest of both oranges, the cloves, peppercorns, Mexican oregano, cumin seed, coriander, canela stick, ground annatto seed, salt and piloncillo. Blend thoroughly on the highest setting, until the mixture is as smooth as possible.

Place the pork roast in a marinating container or bag and thoroughly coat with the marinade. Let marinate in the fridge over night.

If using banana leaves, cut into six inch strips and line the bottom and sides of the slow cooker with the leaves, covering the entire surface. Place the pork roast in the slow cooker and cover with strips of banana leaf, folding and overhanging leaves into the center of the slow cooker. Add the two cups of water. Cover and cook.

Cook the roast on the low setting for twelve to fourteen hours, or until pork is fall apart tender. Reserve the liquid when removing the pork as you will want to add some back to the shredded meat to achieve the desired moistness. Also, any left over broth is great to make rice or quinoa with or to use for making tamale masa. P.S. After you make tamale masa with that delicious broth, fill them with that awesome pork!


This pork makes an excellent taco filling, or enchilada filling, or tamale filling, or whatever. Make pulled pork sandwiches out of it, or fry it up with some eggs. Taquitos. Just sayin.

Saturday, November 24, 2018

J's Homemade Bacon

So, several years ago, I wanted to try brining and curing my own meats. I did  couple of corned beef roasts but I've been wanting to try my hand at bacon. So here's my first, real attempt at homemade bacon. It's not too tricky but it does take some fridge space and a little while to do properly, so it may not be for everyone. Also, if you look up homemade bacon recipes on the interwebs, you will find everyone has a particular way that they insist is the only way to do bacon properly.  Well, I've tried about three different ways of doing it now and the one I settled on isn't how anyone says to do it that I could really find but it's how I brine most meats in our house so it's what I'm comfortable with.

First of all, you'll need to source some raw pork belly. Not every store will carry unadulterated pork belly and you may need to look around a bit. Also, some places may carry pork belly in different stages of processing. I was fortunate to have my local Cosco carry pork belly in a slab with the skin removed as well as packages of that slab cut into 3-4 inch strips. I opted for the strips because we have a meat slicer I wanted to use for my slicing and it was not large enough to accommodate the full slab of pork belly, nor did my fridge have that much free real estate.

There's two basic methods of brining when it comes to bacon: dry and wet. If you do some research, you'll find people are very particular about the method they use and they're more than happy to tell you why. I tried both. I prefer the wet method to the dry method and my reason is simple: I got more consistent coverage and even penetration than with the dry method. That's all.

You will also find people are very adamant about the use of pink curing salt (a.k.a. Prague Powder #1, butchers salt, Morton Tender Quick Meat Cure, etc.) which is common table salt with sodium nitrite and coloring added so that it isn't confused for regular salt. This should not be confused with Himalayan pink salt, which is pink due to the presence of trace minerals in the salt itself and doesn't contain sodium nitrite. Do some research, use what you like, don't use an ingredient you don't want to. There are natural alternatives to sodium nitrite infused salt but what I basically found is that those natural methods use ingredients (usually celery salt) that eventually break down during the curing process into...sodium nitrite. Consuming nitrites is like anything else in life: Large quantities = bad. Moderation = good.

Quick note: I used agave syrup and Puya peppers as my sweet and heat in this recipe because it's what I had around the house since I've been doing a lot of Mexican food recently. Used crushed red pepper flake and honey if that's what you prefer or get crazy. It's your bacon.


Been jamming to a lot of Osker recently so I'm going to go with their song Kinetic off of the album Idle will kill. Some classic, late-ninties, early 2000s skate punk.


J's Bacon
Prep time: 3-5 days
Cook time: 2-3 hours
Difficulty: easy
Serves: depends on batch size
  • 2-3 cups water
  • 1/4 cup kosher salt
  • 1/4 packed dark brown sugar
  • 2 tsp pink curing salt
  • 1/4 honey (I used light agave syrup cause it was around and I thought 'why not?')
  • 2 tbsp crushed red pepper flake (I used Puya peppers since it's what I had readily available)
  • 1 tbsp paprika
  • 1 tsp cumin seed
  • 3 lbs raw pork belly cut into strips with the skin removed
Get your red pepper flake, and cumin seed into the saucepan over a low flame.  Toast the pepper and cumin until they give off scent, a couple of minutes. You're just trying to wake up the oils in them and bring them to the surface so they will come off quickly in the water. 

Add the water, both salts, sugar, honey, and paprika to the pan and kick the heat up to high. Bring to a boil, stirring in the ingredients until they are all dissolved (except the pepper flake and cumin seed obviously). As soon as the brine comes to a boil, turn off the heat, and set aside to cool to room temp. You don't want it to be warm enough to cook the pork belly when you apply it.

Place your pork belly slab/strips in a gallon ziplock bag (I find the heavy duty freezer ones work best) or some other container appropriate for holding sweet/salty, porky water for a few days in your fridge without making a huge mess. Add the cooled brine. I like the ziplock bag because it allows me to expel most of the air from the bag making sure that the brine is in contact with the all the pork surfaces, all the time. That is one of the problems with the dry rub brine method is uneven coating and distribution of the season over time creates "hot spots" that are heavily seasoned and "dead zones" that have little seasoning by comparison. This method gives full coverage and full penetration.


Now just toss you pork belly in the fridge for 3-5 days depending on how salty you like your bacon. I prefer mine on the less salty side so I like the three day soak but try it out and if it's not salty enough or just doesn't give you that hammy/bacon kick you're looking for try a 4-5 day soak.


Lastly, comes the smoke. Now, you can take your bacon out of the brine. Rinse it off under cold water and pat dry with some paper towels. Set it out on a cooling rack over a baking sheet so as to allow for air flow on all sides and to catch any drippings or whatnot and place it in the fridge for 12 hours (just toss it in overnight) prior to cooking. This drys the surface and forms what's called the pellicle that better captures the smokes flavors and colors on the finished product. If you can't let it sit overnight for some reason, some dry time is better than none. At least let it dry till the surface is tacky to the touch.
See the paprika and chili bits adhered to the surface of the meat?!

At this point your bacon could be finished in the oven, sliced and cooked and served immediately. However, I like my bacon smoked. So I soaked wood chips for smoking. I used 50% apple wood, 25% alder, and 25% mesquite. I smoked at 225 degrees on my little gas grill and 3 lbs took about 2-3 hours each time or until the internal temp reaches 145 Fahrenheit. Remove from the grill and let cool.


One tip I will give for slicing bacon is that it should be very cold before you attempt to cut/slice. As in, just on the verge of freezing is perfect. The warmer it is, the harder it will be to slice thinly. Once it is sliced, package and freeze or cook up a bacon feast. Do what you want. I'm not the boss of you. You just made your own bacon. You make the rules now.